

So you want to use prosthetics with your costume but 1) you’re not a makeup artist and 2) you’re kinda cash poor. Have no fear my loves, I’m here to help you!
There are lots of different prosthetics out there varying in size, complexity and price. I’m going to be talking about the cheaper ones you can get at most Halloween stores. I’ll be honest with you (duh, I mean who wants to read an article written by a liar), having used more expensive prosthetics, many of the cheaper ones are cheaper for a reason. The most annoying difference are the edges of the piece. It can be the greatest sculpt on the planet but if the edges suck, well then, you know, it’s gonna suck. So how do you make the most out of a cheaper appliance and make it look way, way better? Well read on, my ghoulish babies.
So how do you get something like this?
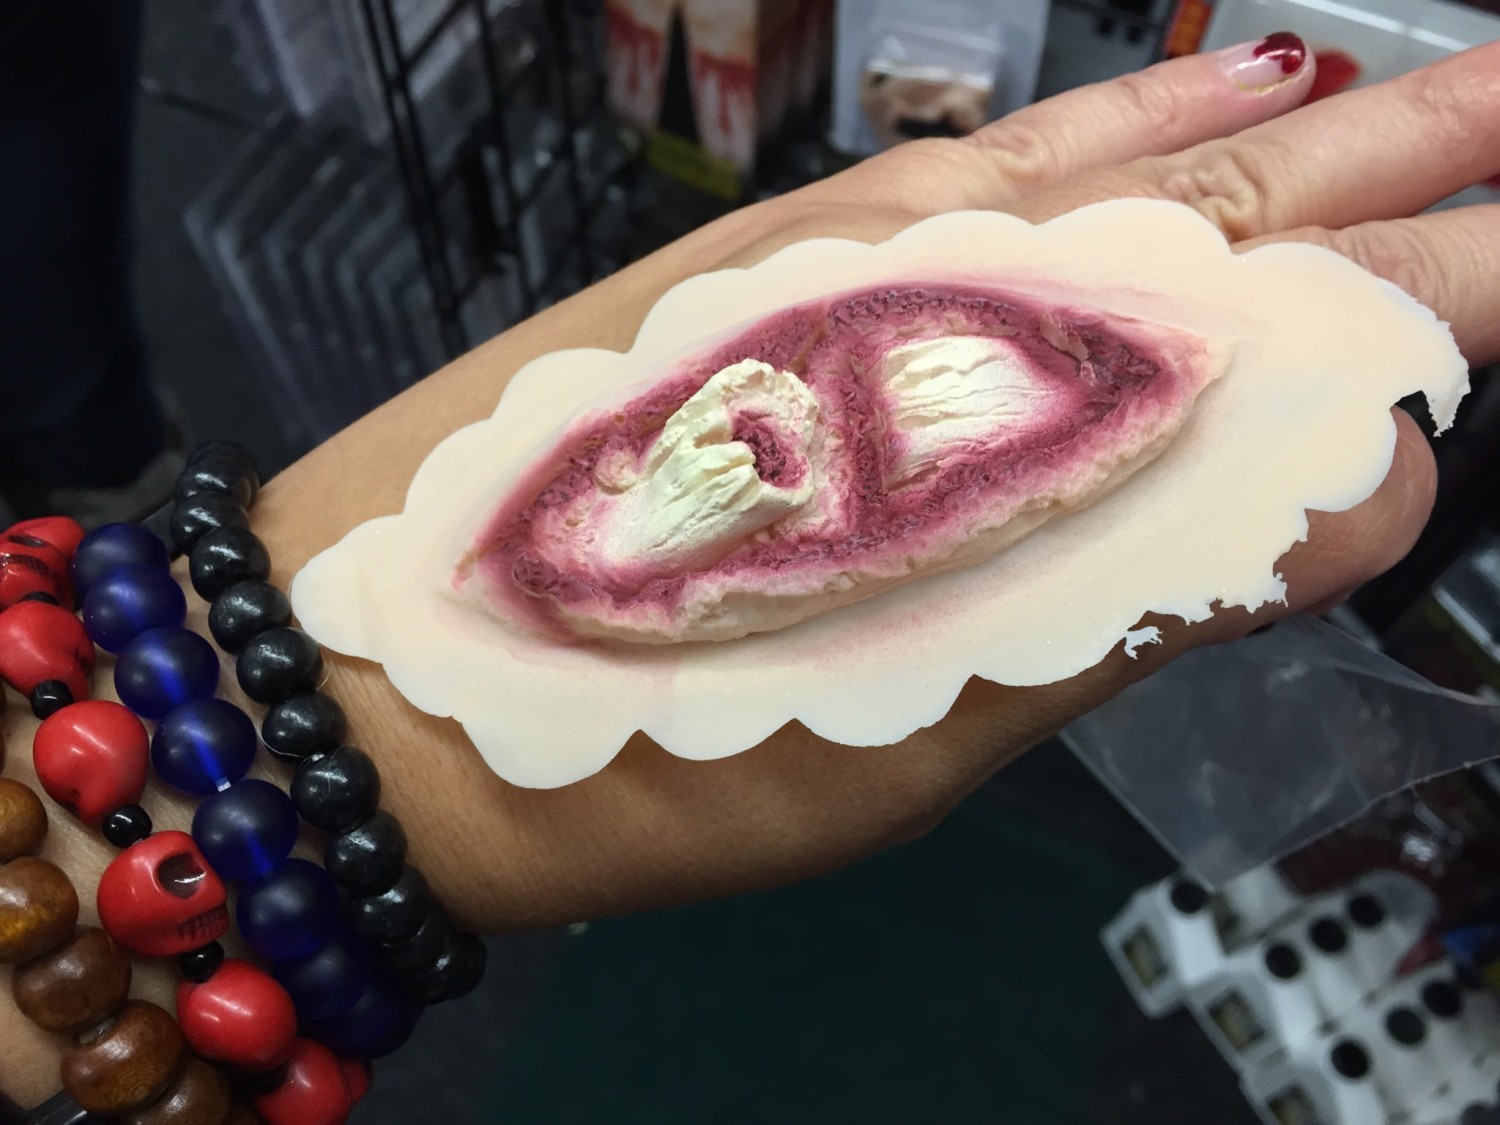
Broken Bone Prosthetic
To look like this?
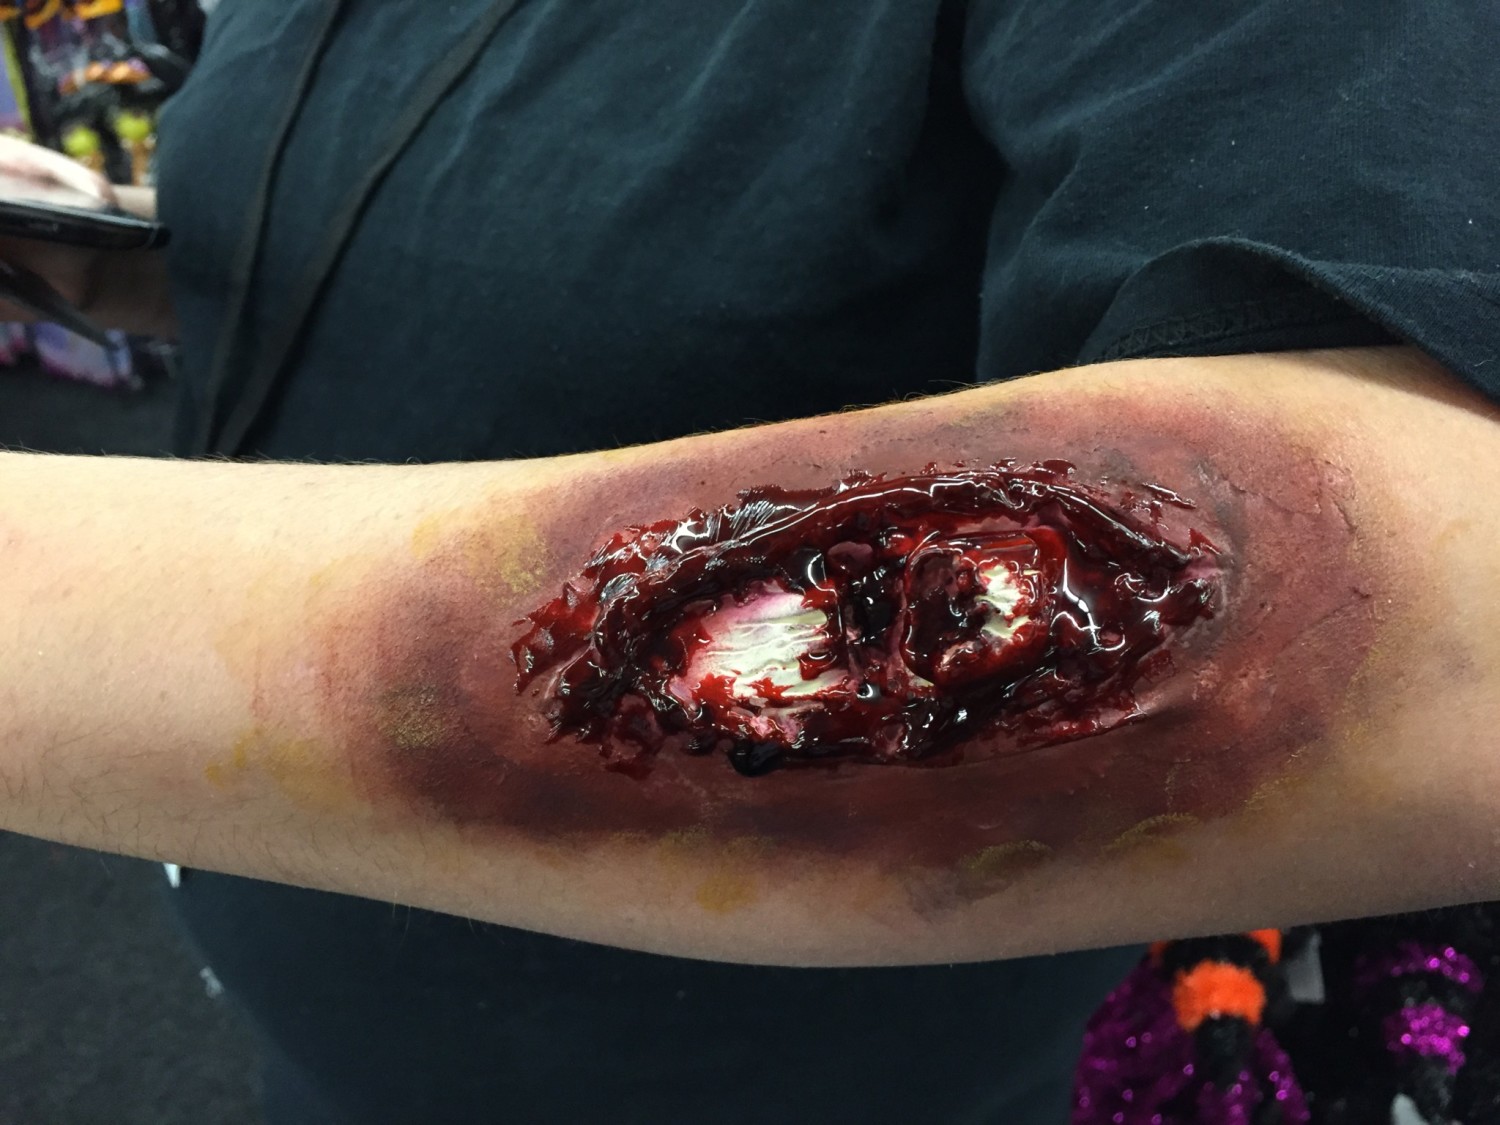
Better!
Let’s start with the prosthetic. For this tutorial I’m going to use a deep cut prosthetic.
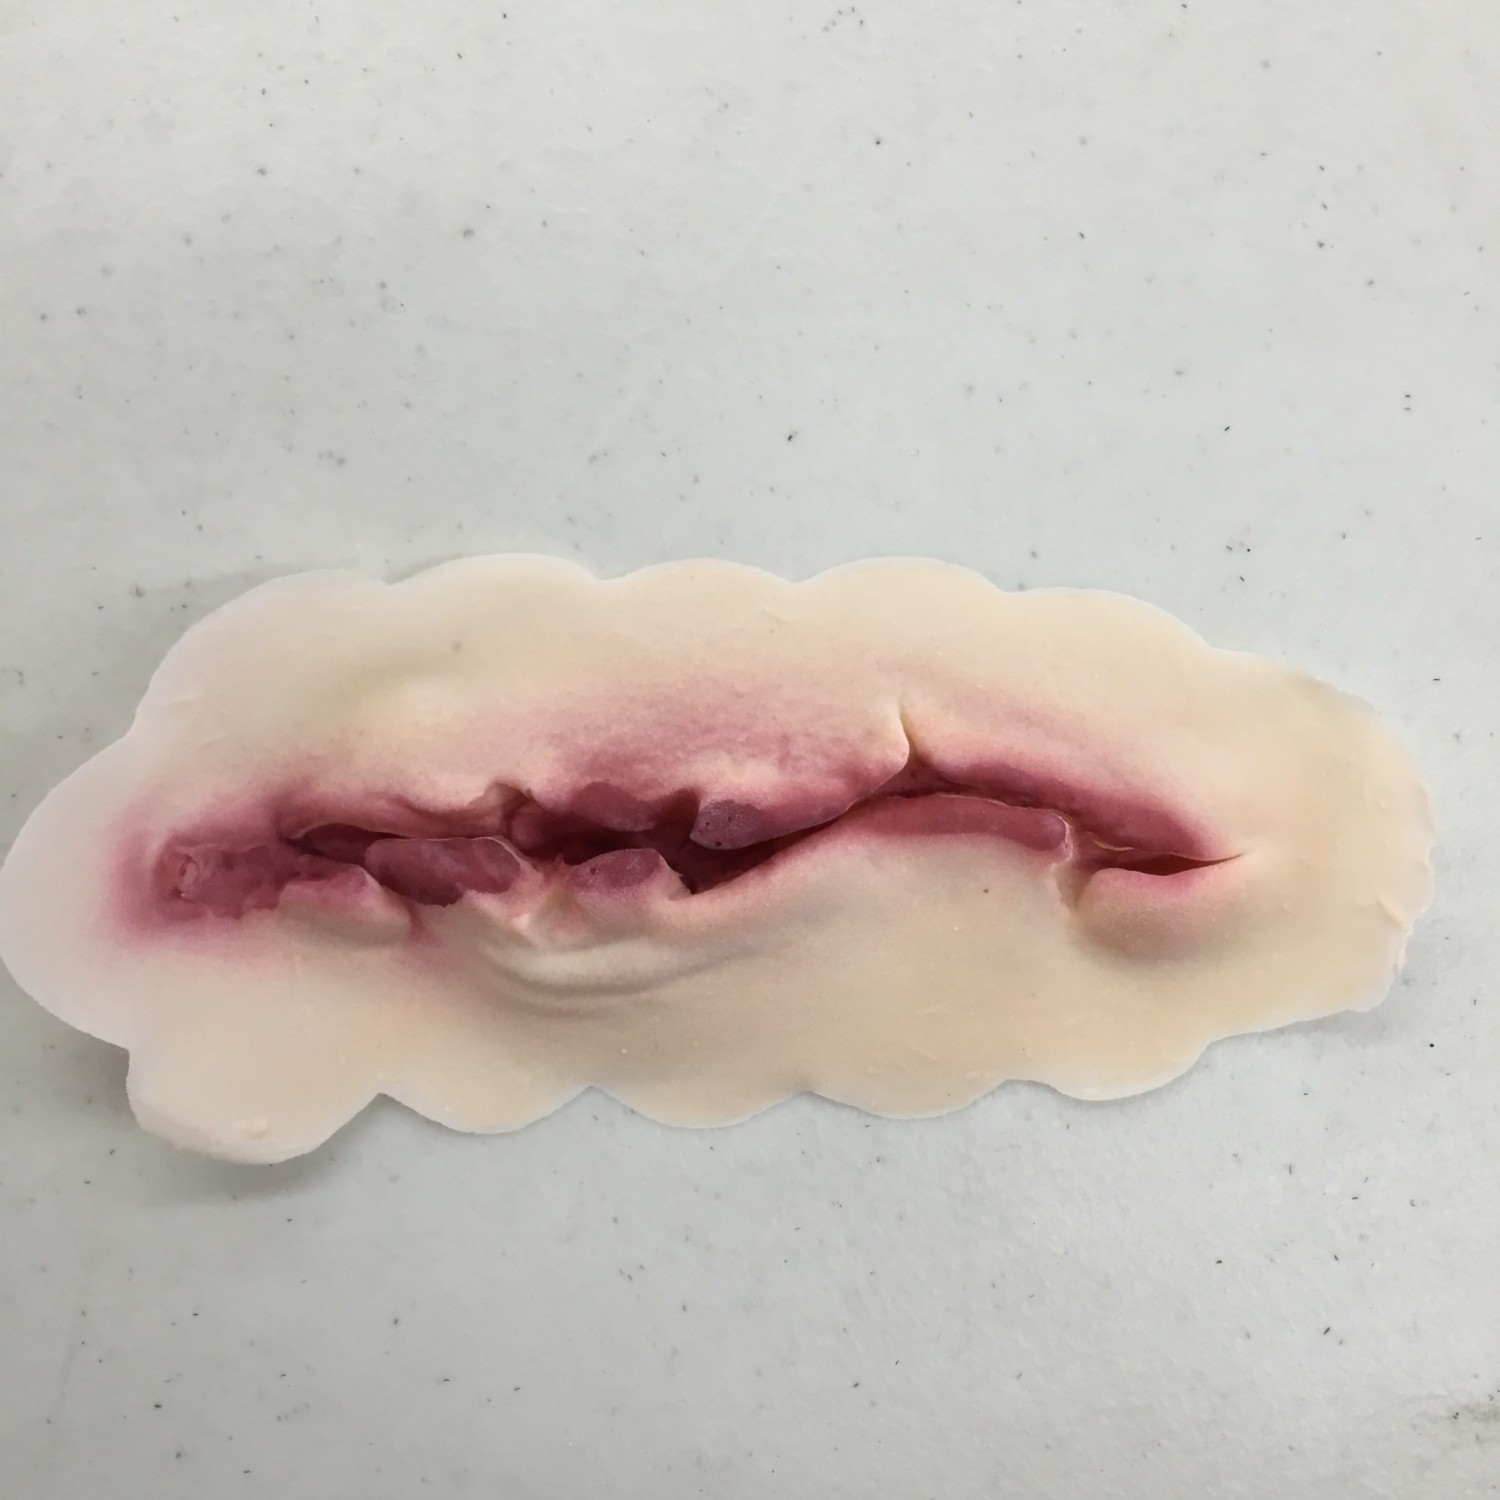
I’m not even gonna tell you what I think this looks like.
Now you can trim this up with scissors but I’m going to apply it as is. You can use spirit gum (just make sure you also have the remover) or you can use latex. I prefer latex. I find that it’s quicker to stick and stays on through nuclear war….or you know, a few Halloween keg stands.
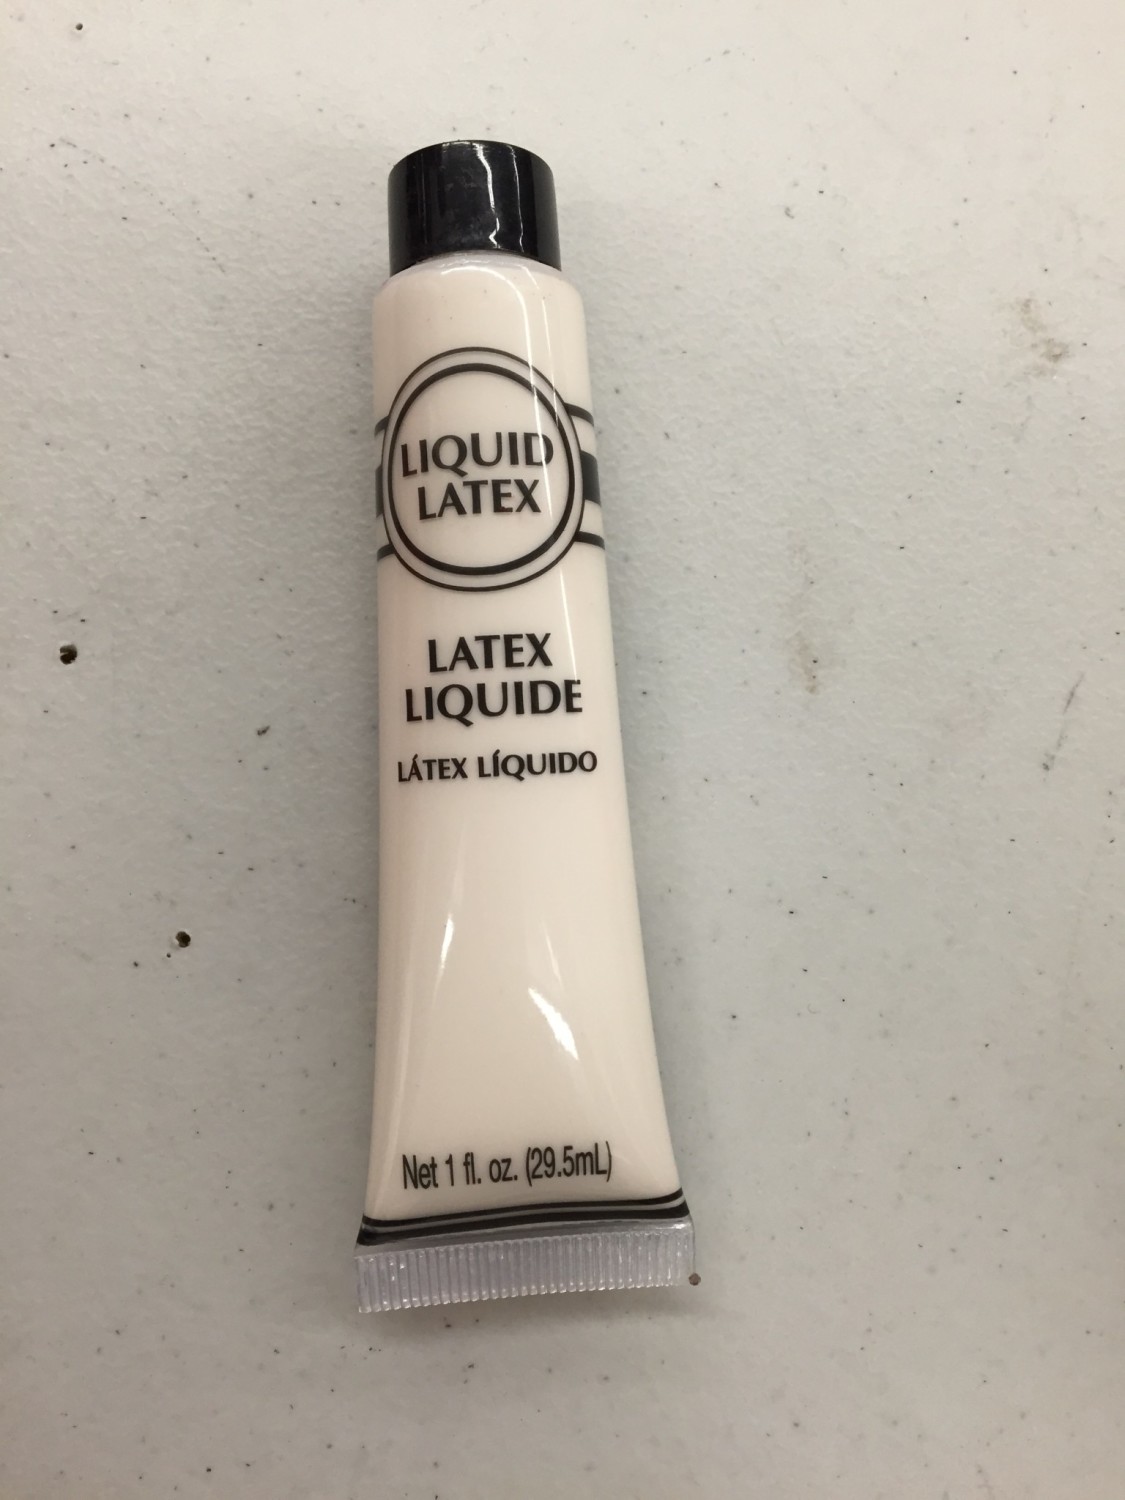
Liquid Latex
If you’re going to use latex, please do a test patch to make sure you aren’t allergic. If you’re sexually active, you probably already know if you have a latex allergy by now….amirite?
So first, take a little latex and apply it to a synthetic sponge.
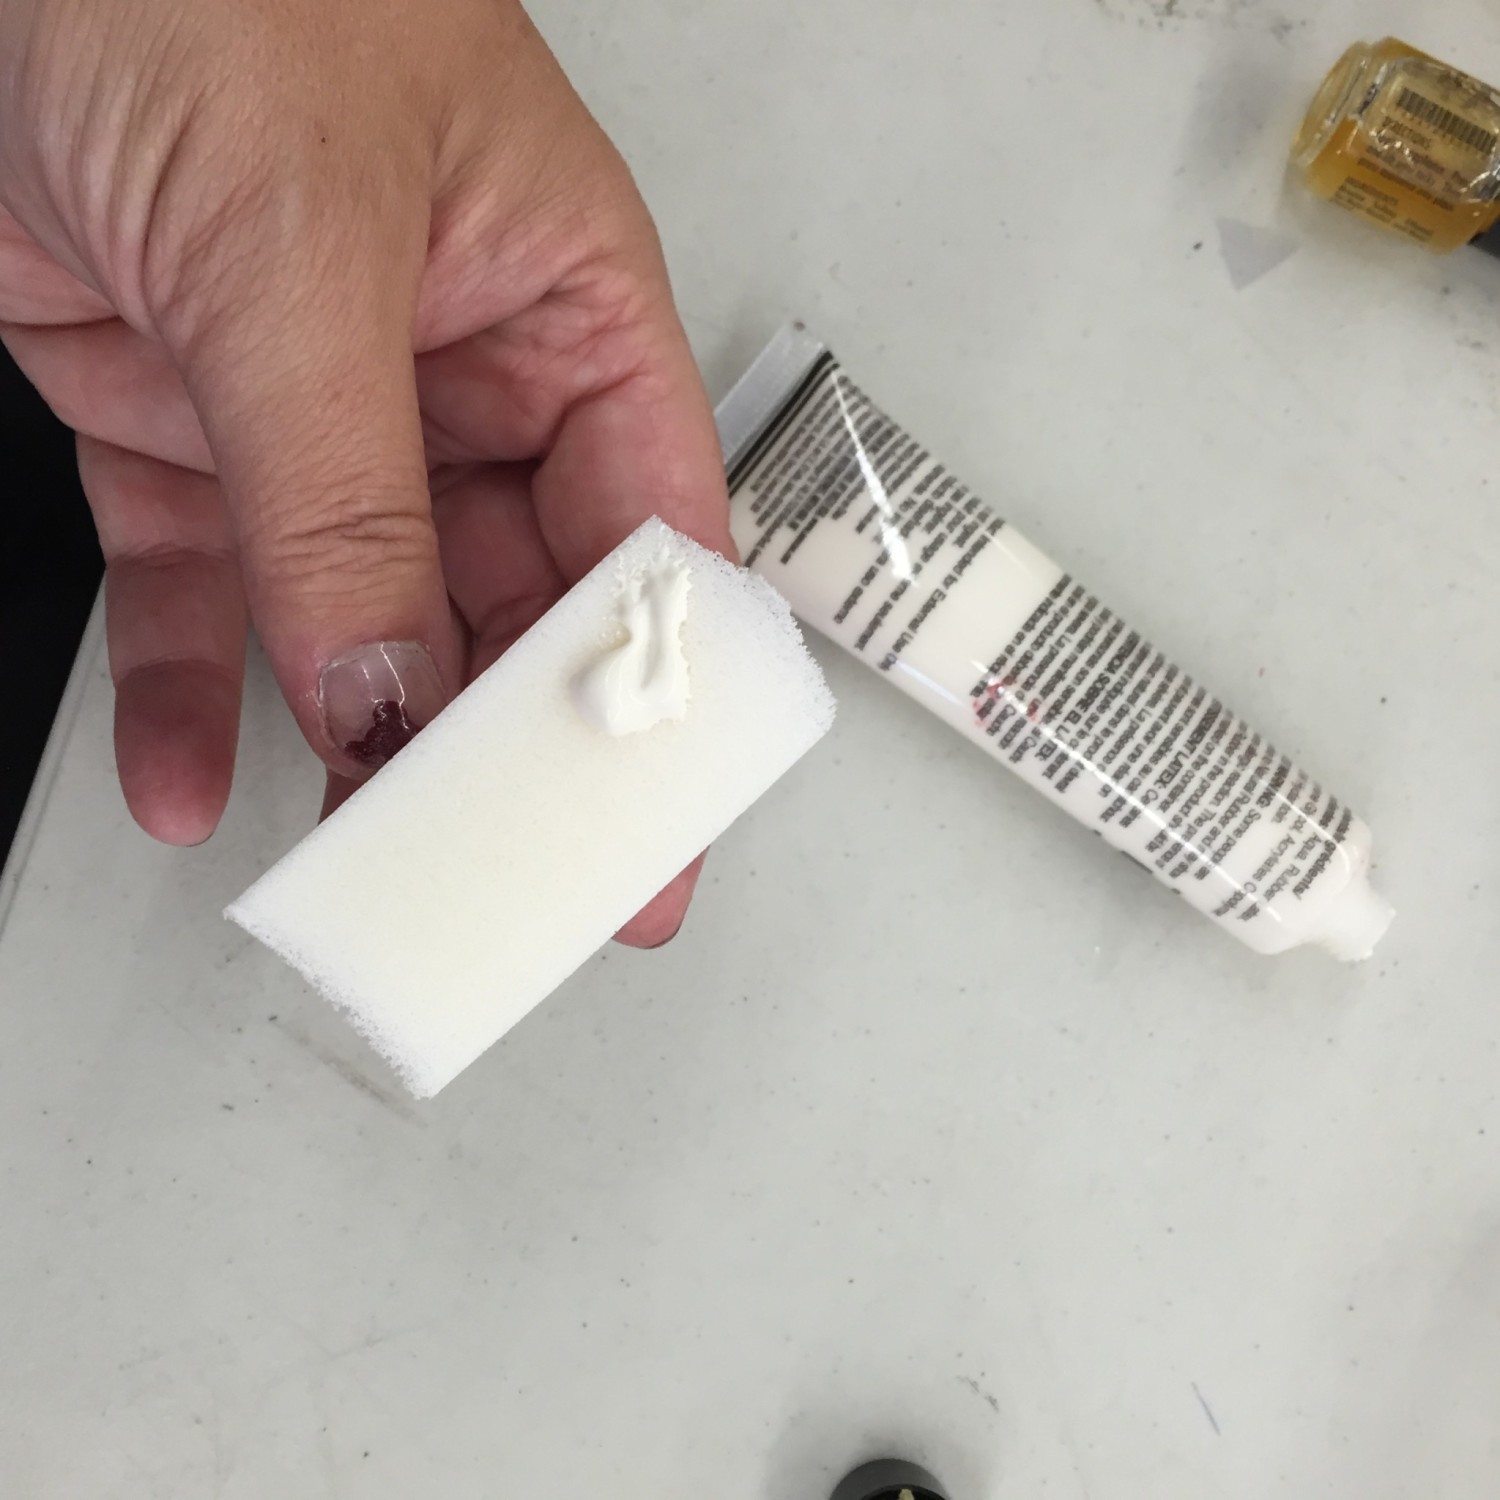
Liquid Latex, Synthetic Sponge
A word of caution though: please keep liquid latex away from your eyes (burns, burns, burns) and out of your hair – this includes the hair on top of your head, your eyebrows, those hairy arms of yours and you know, any other bits with hair on them (no judgment loves). If you’re going to apply to a hairy spot against my advice, you’re better off if you shave the patch first. If you don’t, you’re going to get a very unpleasant waxing. However, if you accidentally happen to get a little in your hair, take some olive oil, oily makeup remover, baby oil (anything oily ya’ll) and rub the oil and latex in small circular motions to work the latex out. Don’t just grab and pull because again, very unpleasant waxing.
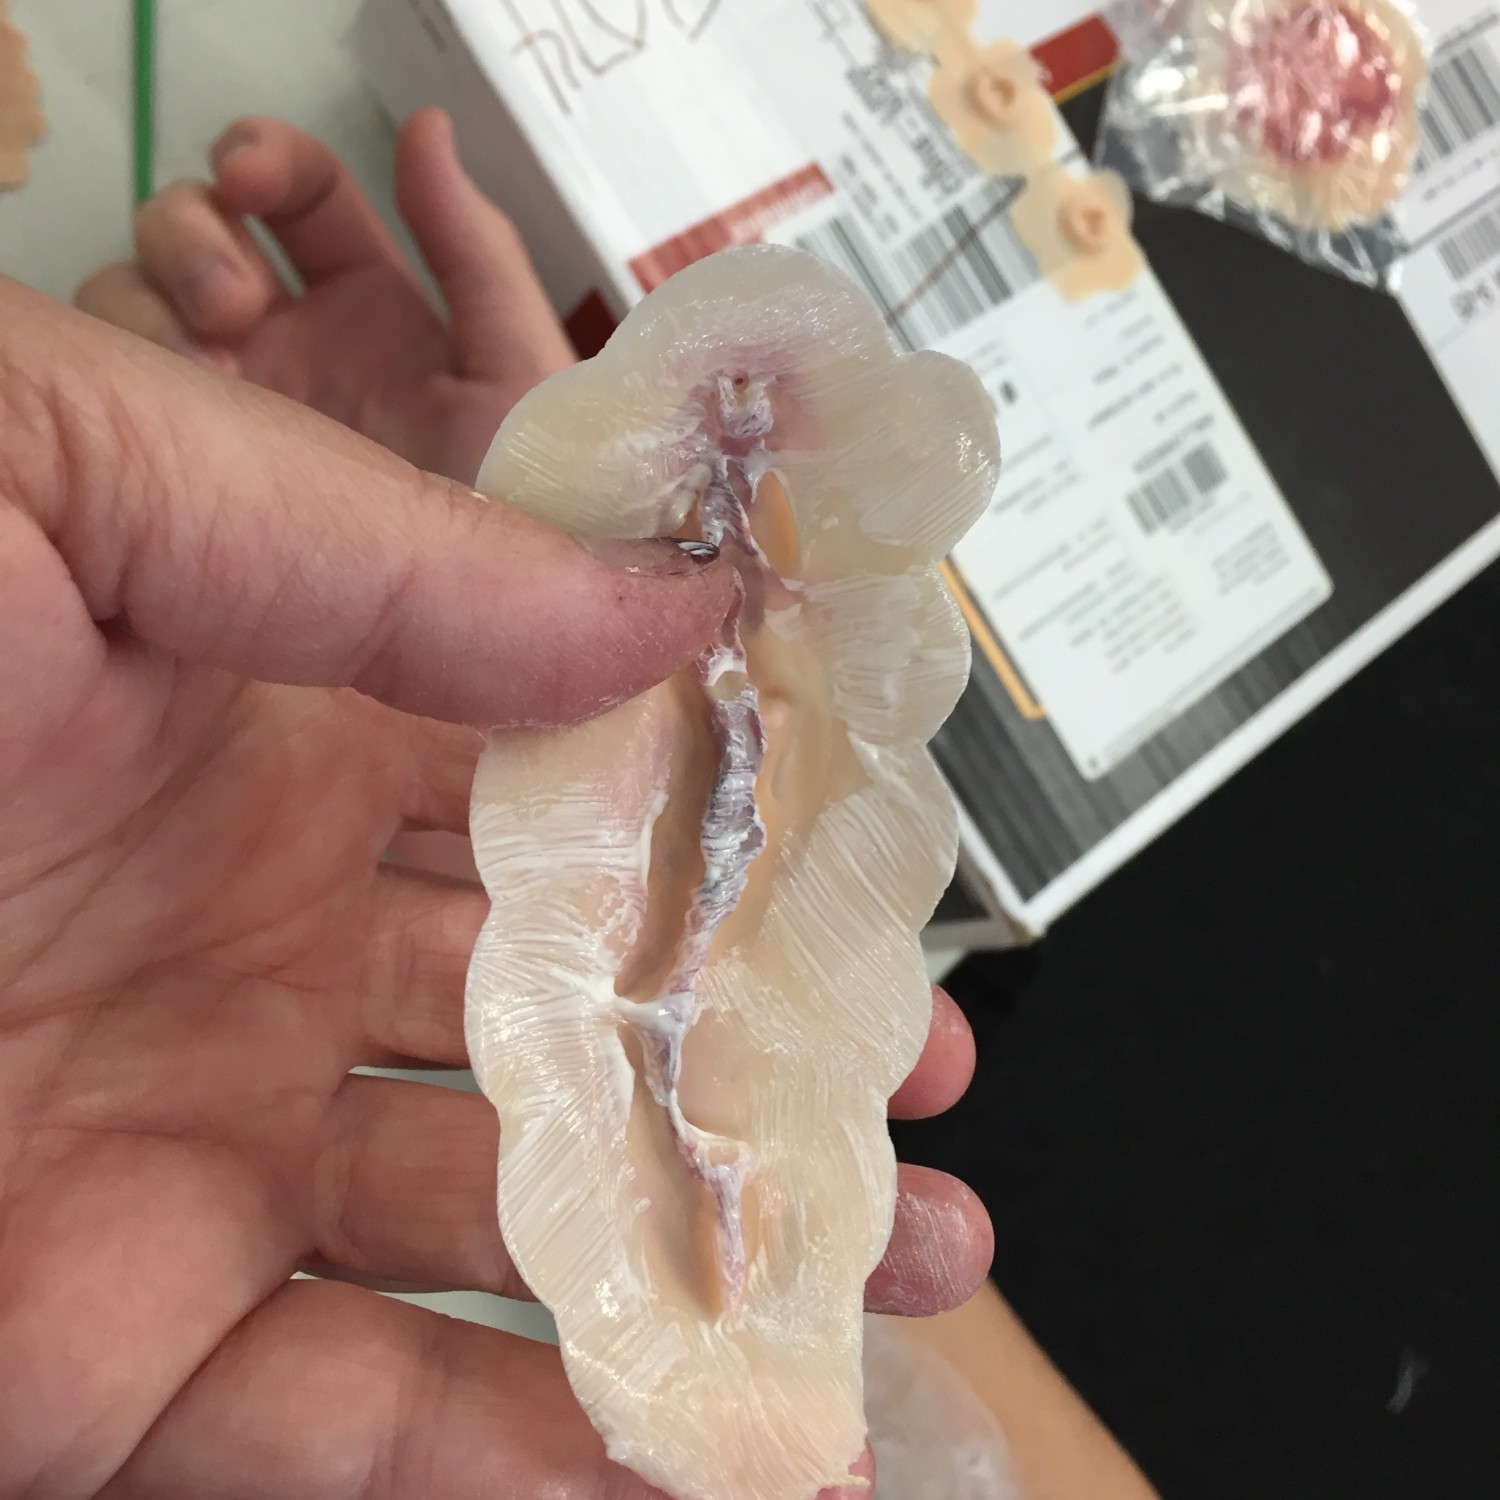
Apply latex to back of prosthetic
You can apply the latex to the back of the prosthetic or to your skin, either way is fine.
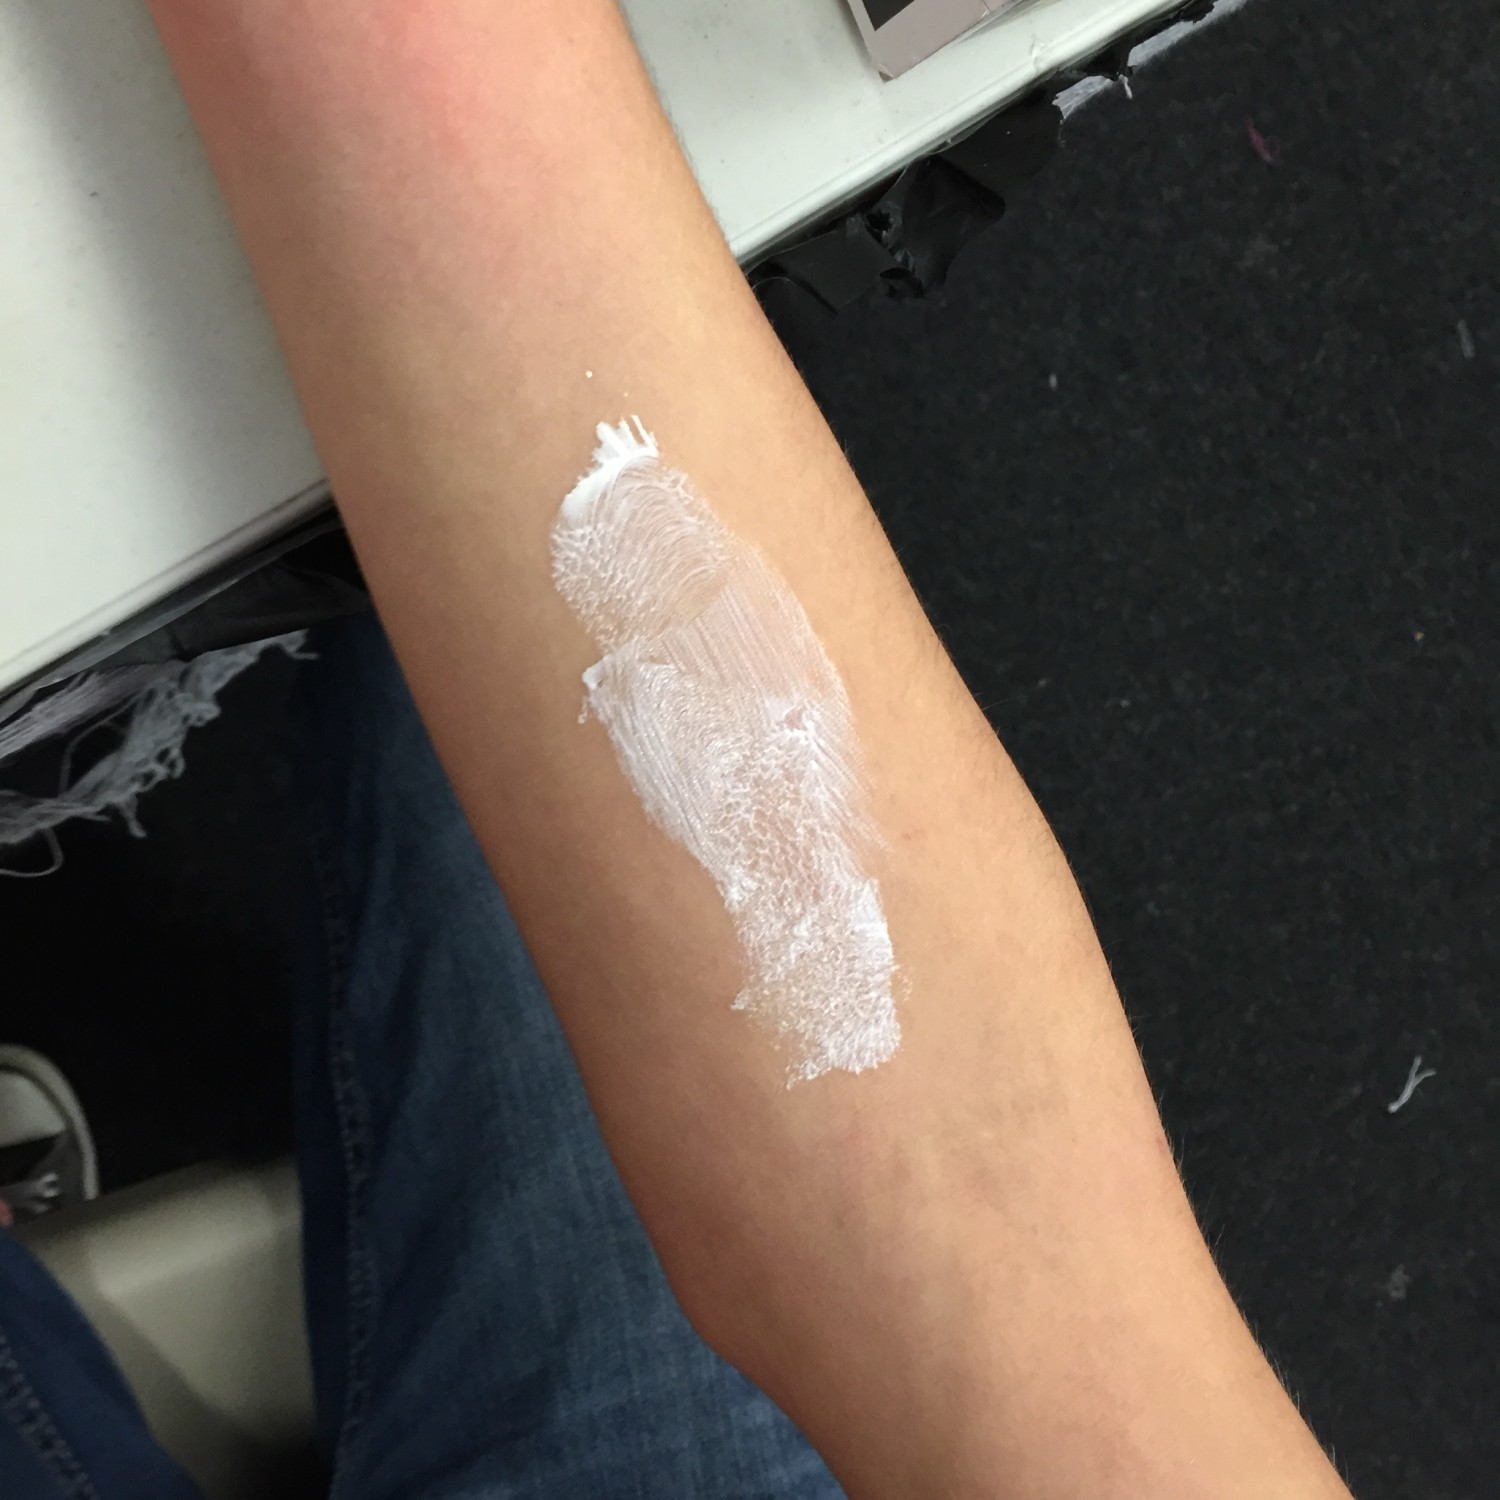
Apply latex to non-Sasquatch skin
One advantage to applying the latex directly to the prosthetic is you’re sure to get all the edges covered. But don’t stress, if any part of the prosthetic starts to pop loose, just put a little latex on a Q-Tip and swipe a little under the loose spot and tack it back down. It also helps if, once you apply the prosthetic and latex to your skin, you apply a little pressure. If you’re in a hurry, you can always add some heat from a hair dryer to get your latex to dry quicker. Be careful you don’t choose too high a setting, especially if the prosthetic is on your face (or if you’re applying this to someone else, keep checking that they’re not getting too hot or Lordy Lou, burned). Also, move the hair dryer around in a circular motion so you’re not just heating up one spot. If you don’t you not only won’t get the latex dried evenly, you almost might fry your skin.
Ok so now the latex is fully dry and your prosthetic is nice and glued down.
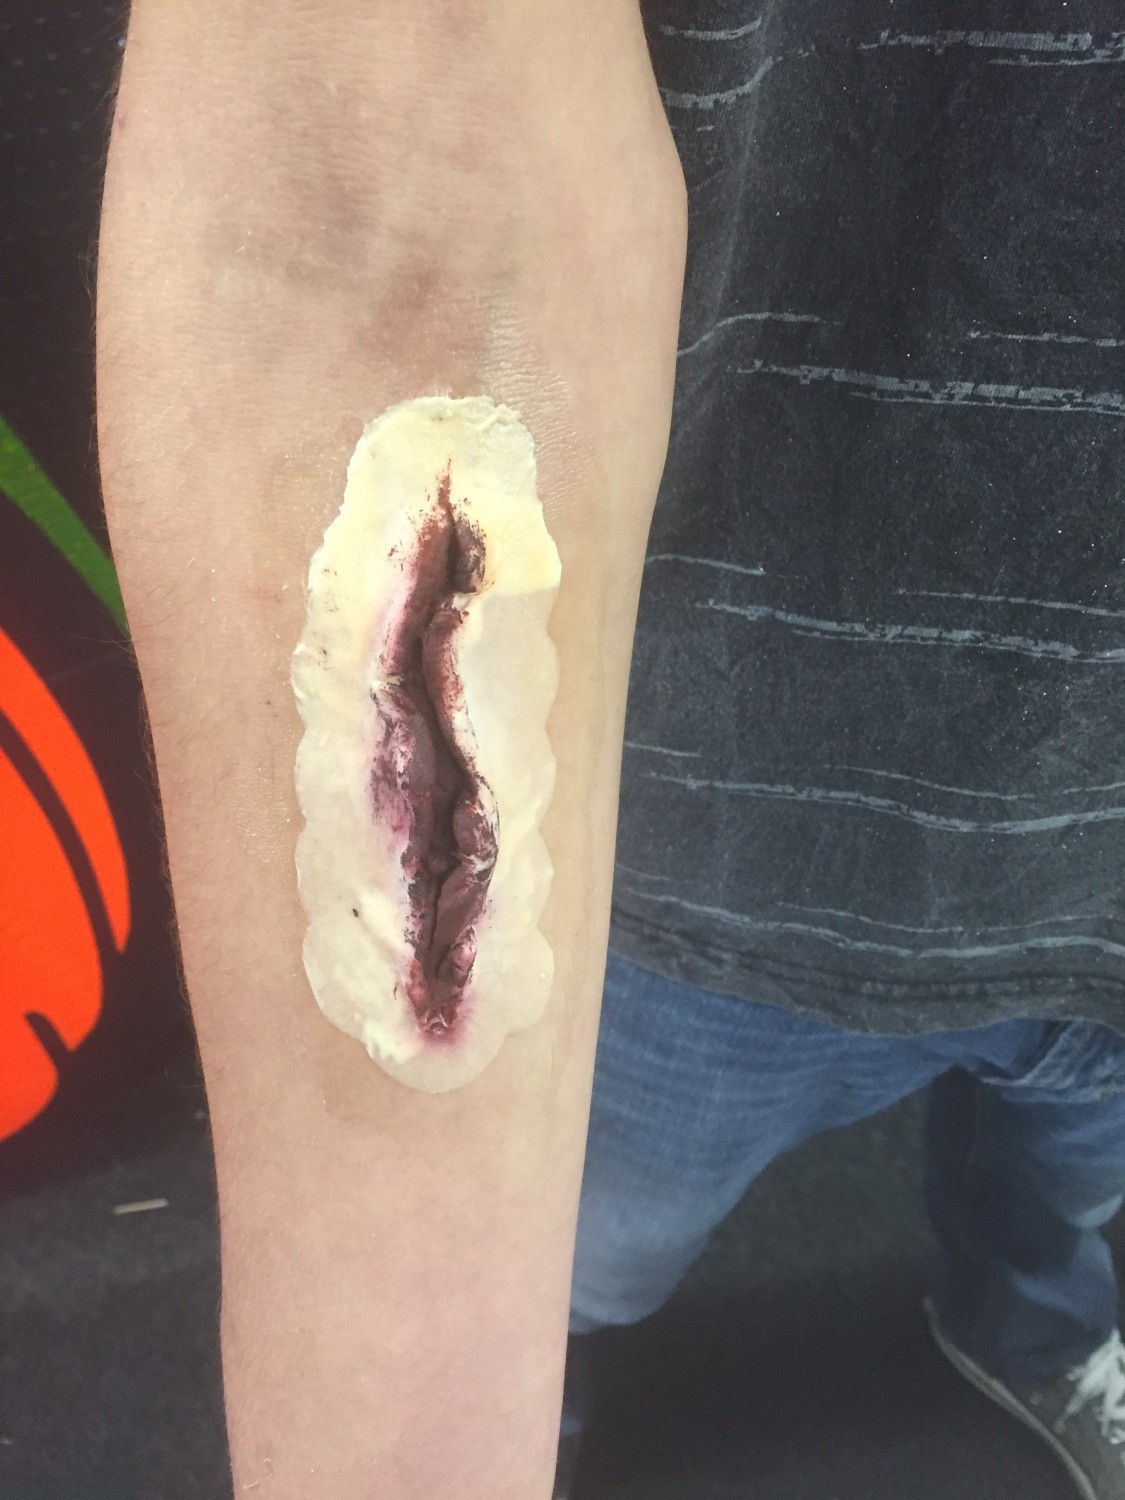
Shout out to Tyler for being my arm model!
Next you’re going to start applying some color. Creme makeup works the best. For wound prosthetics I like to use the Injury Stack from Cinema Secrets.

Injury Stack by Cinema Secrets
If you think about the way your skin bruises that’s the way we’re going to color our wound prosthetic. Bruises are dark toward the trauma and lighter as you go out. This injury stack makes it easy on us because it includes the colors you see in a bruise. There’s a yellow, a red, a purple and a black. I like to start with my lighter colors and go progressively darker. It’s always easier to add more dark but taking away dark to add more light isn’t as easy. You can add colors to your skin and the prosthetic with a synthetic sponge or a brush (I like using synthetic hair craft brushes). Whatever floats your corpse…er I mean boat.
And speaking of corpse, let’s start with the Corpse Yellow.

Corpse Yellow
I like to apply my lightest color over pretty much the whole area of the prosthetic and a little ways outside it on your skin area and blend my colors in later. I also like to leave a little bit of the prosthetic uncolored (without any makeup) if it matches your skin or add a little “flesh” color to about one fourth of an inch around the wound if it doesn’t. I think this helps in adding a little 3-D effect to your prosthetic.
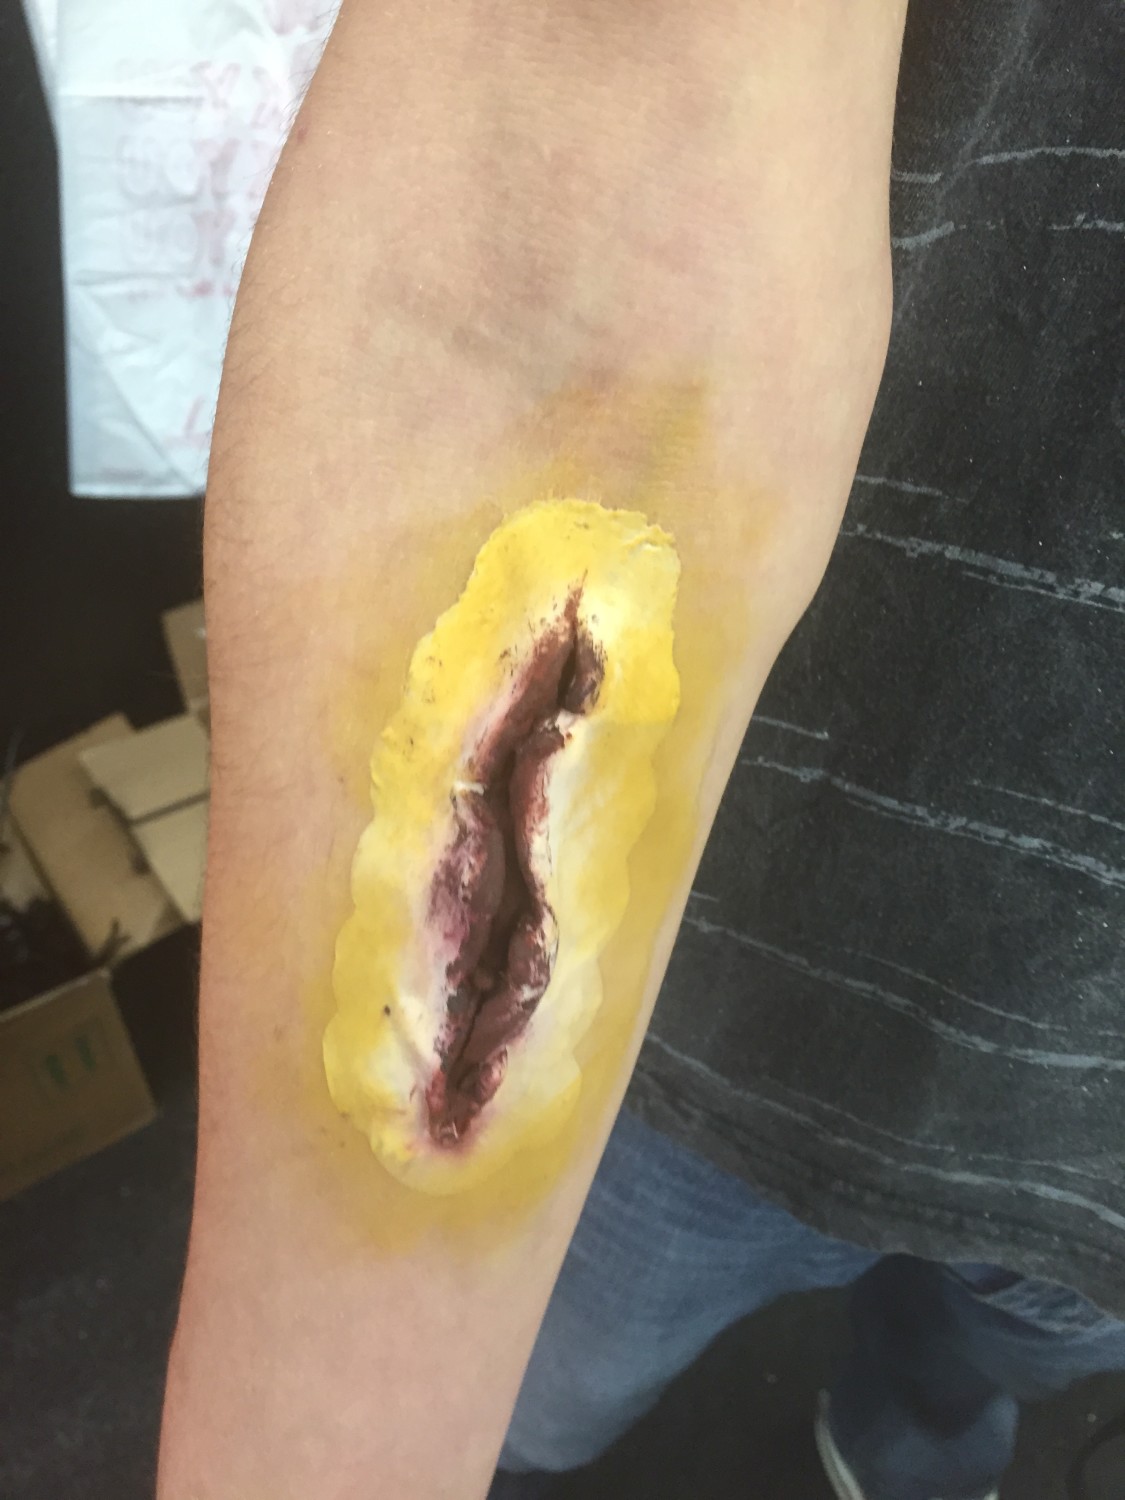
Looks terrible, yes? Don’t worry, it’s gonna get better.
Next let’s add some Bruised Red.

Bruised Red
And then some Undead Purple. It’s like a paint by numbers for psychos, no?
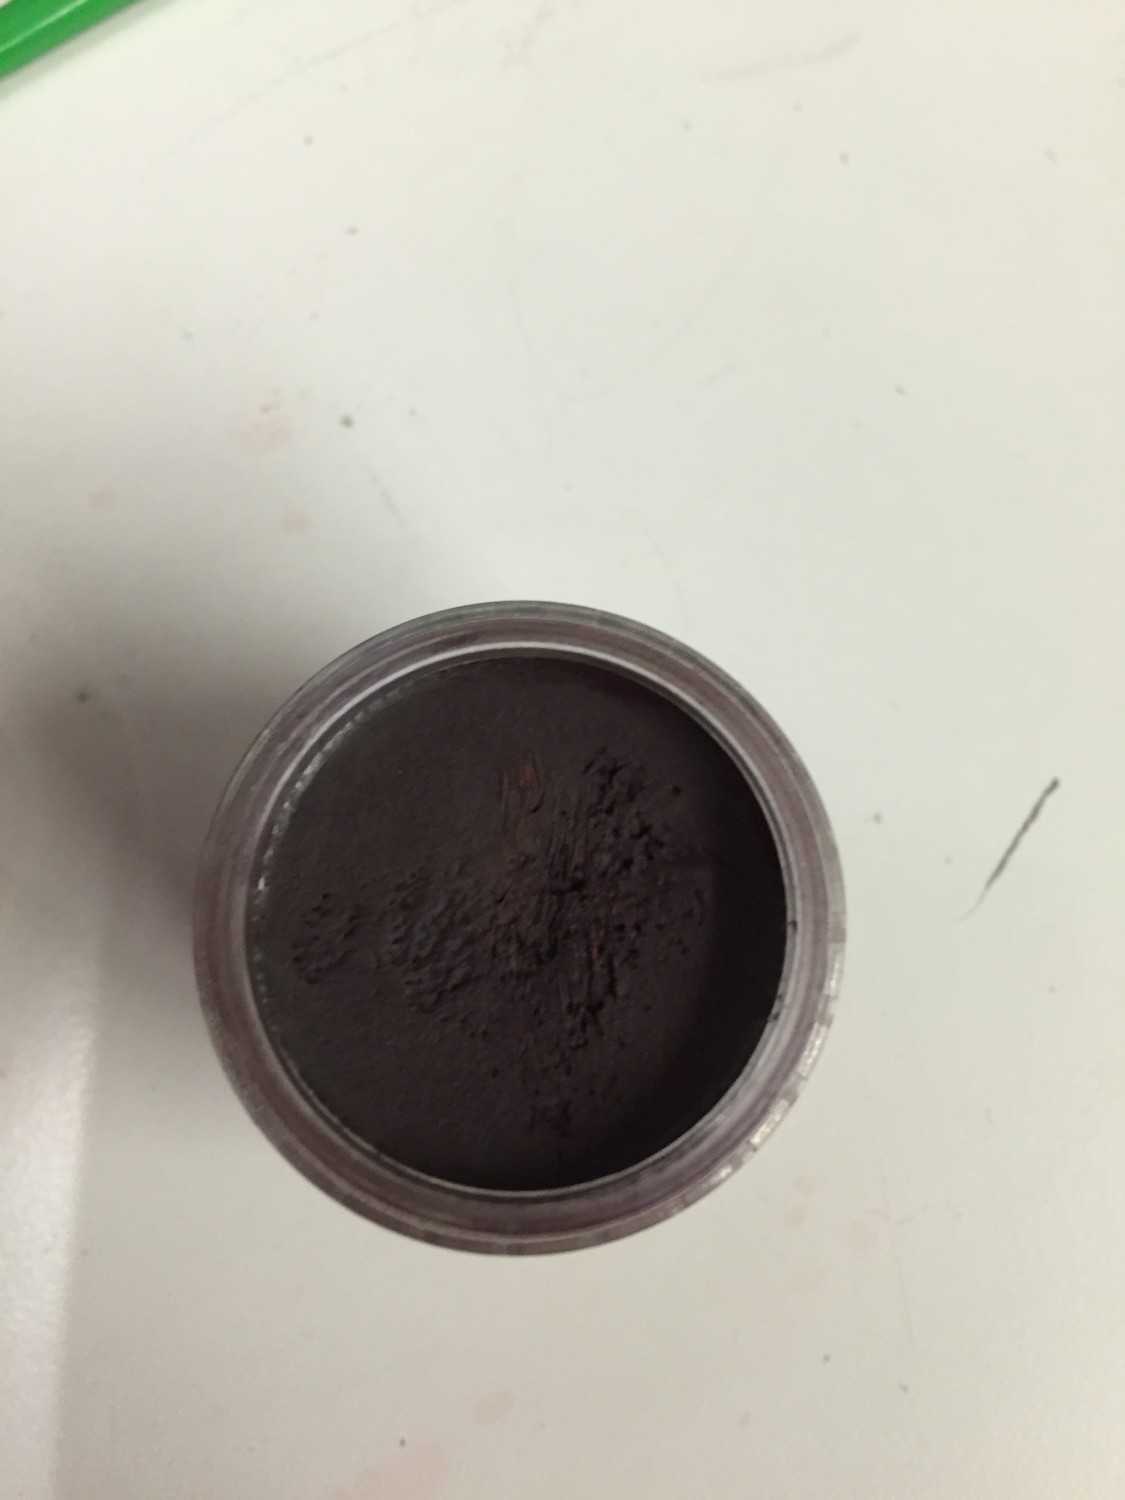
Undead Purple
Start blending the colors as you go – I use a sponge and my fingers (the warmth from your hands will help move the product around).

A little Bruise Red, a little Undead Purple
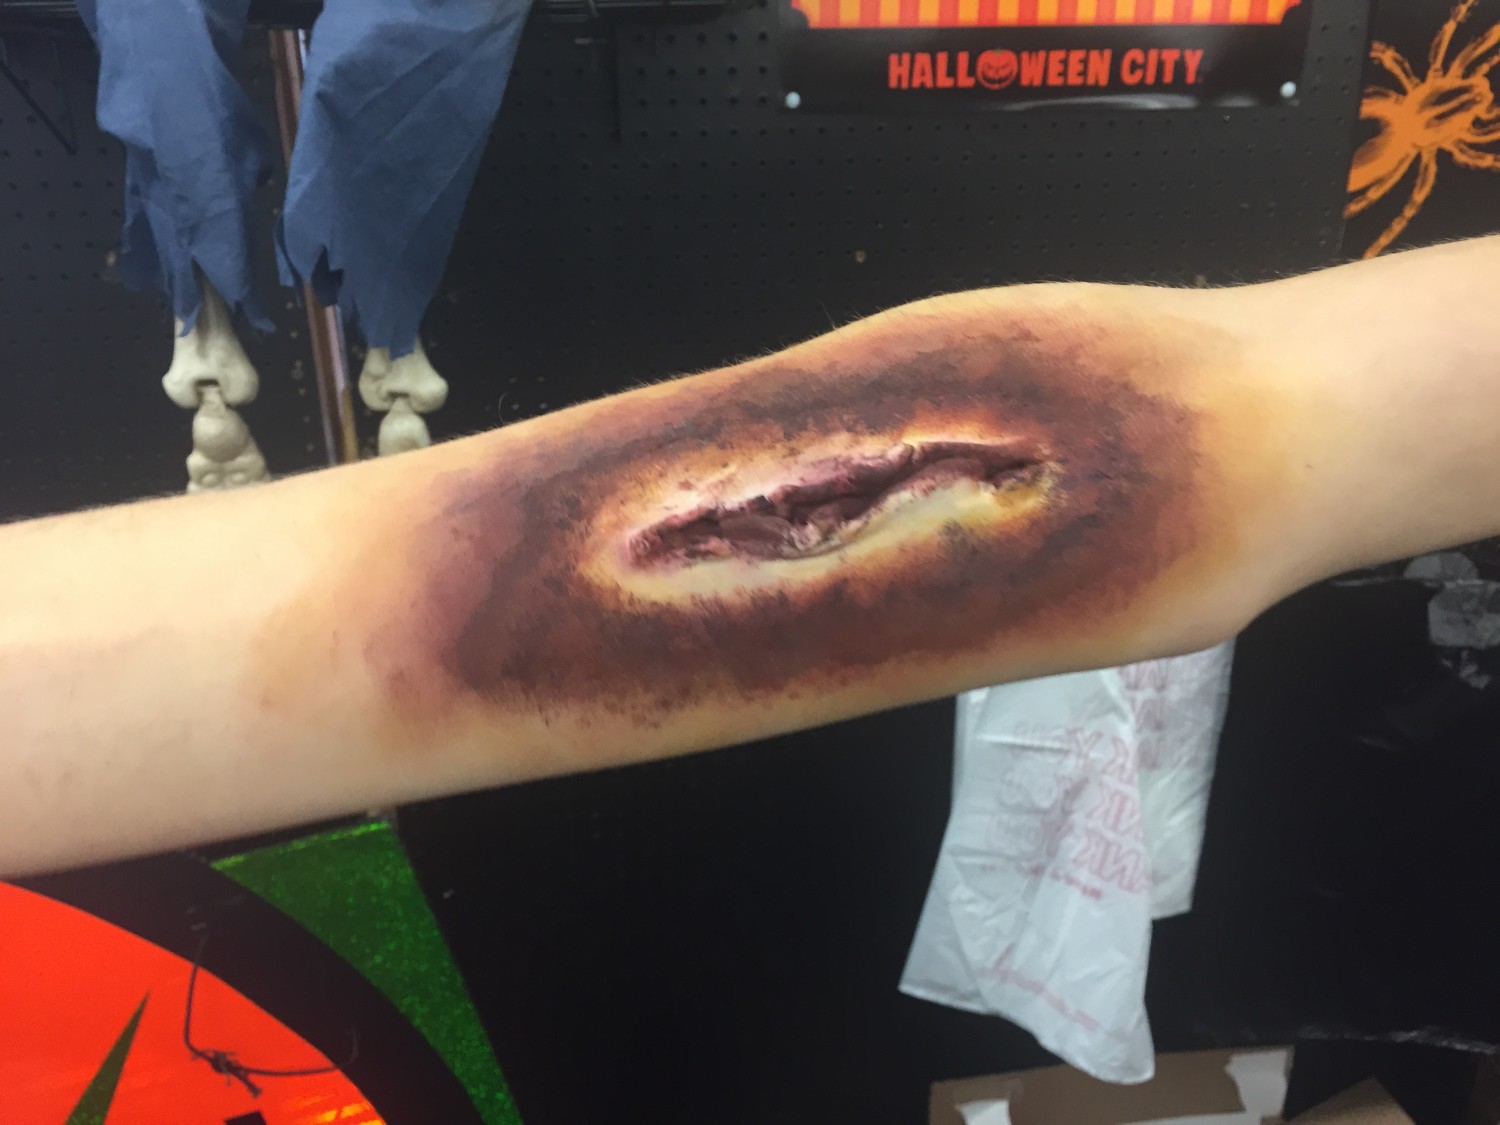
Blend, blend, blend.
Once you get it looking the way you want it to, you need to add translucent powder to set the makeup. This will help the makeup from smearing and getting all over you, your clothes, or that hot Halloween hookup.

Translucent Powder
You can use a big fluffy brush or a sponge. Either way you want to press the powder onto the makeup, not swipe back and forth to keep from ruining what you just did. The powder should be colorless but will look white.

Don’t freak out, it will be translucent eventually.
Keep working the powder until it no longer looks white but disappears into your skin. Once you’ve finished powdering, start adding your blood. There are lots of different types of blood products out there and lots of blood recipes (we’ll get to that another day). For this demo, we’re going to be using Cinema Secrets FX Blood and Cinema Secrets Blood Gel (in case you’re wondering, Cinema Secrets isn’t paying me, their products just happen to be what I’m using for this demo- um although Cinema Secrets, if you’d like to buy me I’m available…wink wink). Now, on to the blood!

Plug it up! Plug it up!
The difference in these 2 blood is the FX Blood is the ooey gooey blood that looks wet and will run, and the Blood Gel is thicker blood, will dry to the touch and looks like scabbed blood (oooo yummy). Ok I’m going to interject a joke this reminds me of that we used to do way back in school.
What’s grosser than gross?
You’re eating a bowl of Corn Flakes and find out your brother’s scab collection is missing.
HAHAHHA
OK back to the blood.
To Tyler’s arm here, I added both FX Blood and Blood Gel to the wound and any of the edges that I could still make out. You can use one of your craft brushes or a Q-Tip or even a craft stick. Just start gooing it on until you get the most awesome, disgusting effect of your liking. The more diseased and nasty looking the better. Let some of it run, dab some on thicker in spots….be like a little bloody Jackson Pollock. Get creative!

So that’s it. Easy, right? Now go forth and disgust!


